
Three simple movement checks I use to spot mobility or movement differences before practice.
The sticky-note decel check before sprints
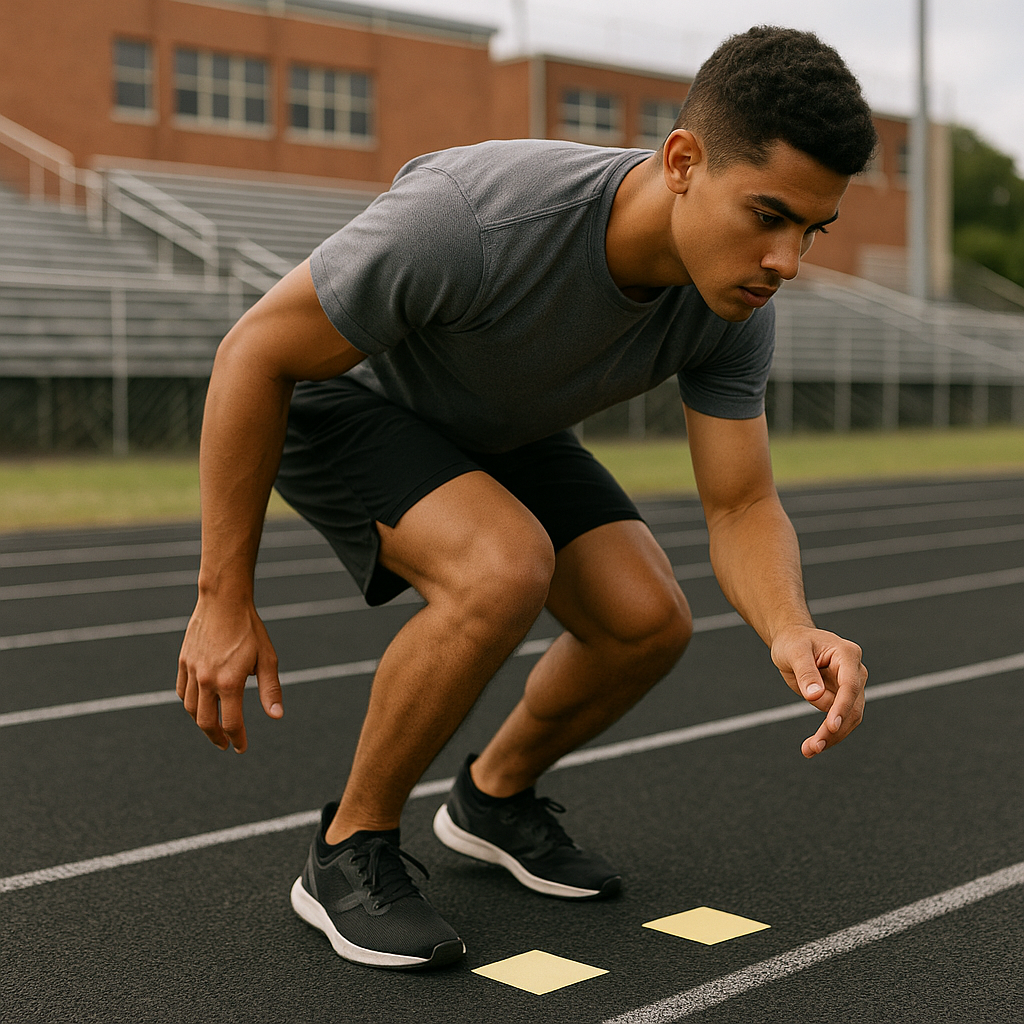
I started doing this on the track behind the gym because I got tired of hearing, two weeks into preseason, "My knee feels weird" right after our first real sprint day. The check takes about 90 seconds per group, and it fits into a high school warm-up without turning you into a part-time physical therapist.
Grab two sticky notes and a Sharpie, and write "L" and "R" on each. Put them on the ground about hip-width apart, just in front of where the athlete will start. The instruction is simple: step forward onto the notes, load like you are about to stop on a dime, and freeze for a three-count. Then step back. Do it twice. That is it.
What I am watching for is how the athlete controls the knee and foot as they slow down. If the knee repeatedly moves inward or the foot rolls noticeably inward, the notes give me an easy visual reference for showing the athlete how their foot moved during the stop.
When it looks off, I just change the next five minutes: more marching A-skips with a pause, a few controlled lateral step-downs off the bottom bleacher, and a cue they can remember in the hallway: "knee tracks over the second toe." If it still looks off on the second round, I scale back full-speed deceleration work that day. They can still get conditioning on the bike or do tempo runs. The goal is to spot a movement difference early and decide whether the athlete needs a closer look before returning to full-speed work.
The 60-second ankle mobility check
If you have ever watched a kid come up limping after a routine rebound or a normal cut, you already know ankles are the villains. A difference in ankle mobility can also affect how an athlete moves the rest of the leg, so I pay attention to it before practices that involve a lot of cutting and jumping.
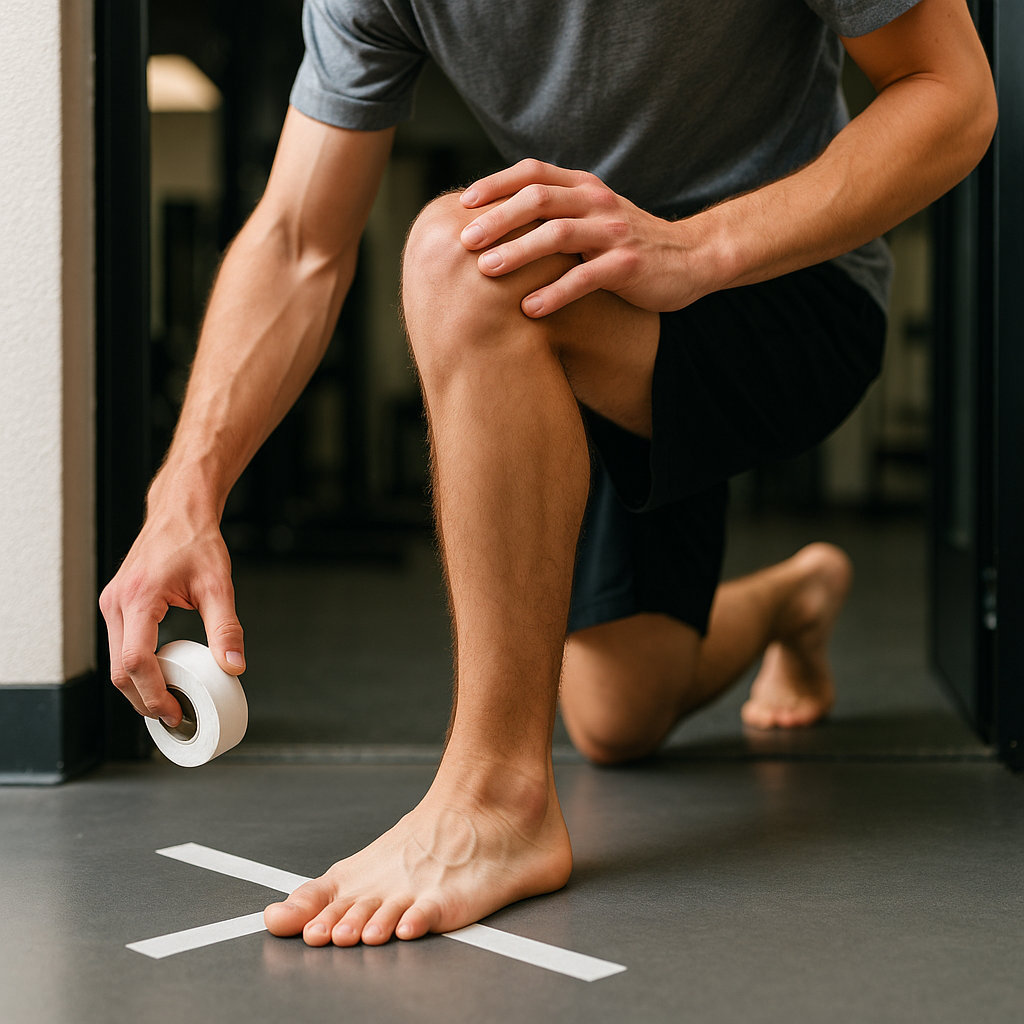
This is the floor setup I use in the weight room doorway while kids are filtering in. Tear two strips of athletic tape and make a simple T shape on the floor for each foot: a long strip pointing forward (your runway) and a short strip across the top (your toe line). You can do it with painters' tape, too, but athletic tape is usually what is already in the athletic trainer's bag.
Now have the athlete stand with their big toe on the intersection and their heel centered on the runway. Keep the heel down and ask them to drive the knee forward toward the toe line without letting it fall inward. It is a slow glide until they feel a firm stop, then back out. Three reps on each side.
The tape gives you a simple visual target. One side reaches the toe line clean, and the other stops an inch short, or the heel pops up early, or the knee moves noticeably inward. If I see a clear difference between sides, I take that into account before a practice with a lot of cutting or jumping.
What do I do with it? Two options, depending on the kid. If they get bored easily, I fold it into something competitive: can you hit the line with perfect control five times in a row, then switch? If they are already tight and frustrated, I keep it boring and quick: calf raises through full range, a few slow ankle circles, then repeat the tape test once. If the difference remains, I would modify the session rather than push through pain or a clearly restricted range of motion. We keep them training, but I do not push the ankle through a range that is painful or clearly restricted.
The mini-band shoulder check I use before throwing
Every spring, I see the same scene in the hallway outside the training room: a pitcher rolling their arm on a lacrosse ball like it is going to erase a week of cranky front-shoulder pain. Sometimes it helps. Sometimes it just makes them feel busy. I would rather notice a movement problem before adding more throwing volume.
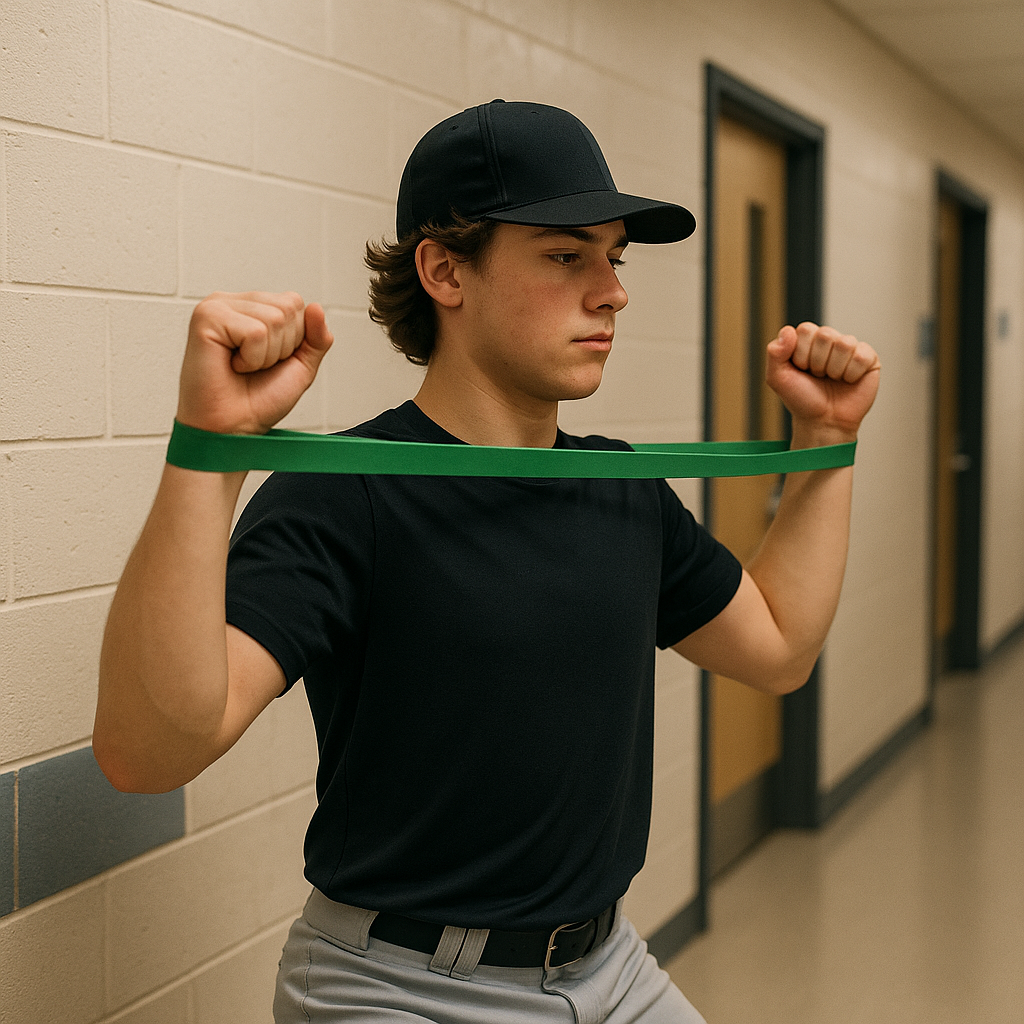
I keep one mini-band (the small loop kind) clipped to a cone with a carabiner. Before any throwing day, they do one simple check: a band around the wrists, elbows at 90 degrees, and rotate the forearms outward until the band is under light tension. Then they raise their hands up into a goalpost position without letting the ribs flare or the shoulders shrug.
A controlled repetition should look fairly uneventful. The wrists stay stacked over the elbows, the shoulders stay down, and the movement looks like it belongs to their upper back. I pay attention if an athlete consistently shrugs, flares the ribs, or lets the elbow drift forward while the band does more of the work. A forward-drifting elbow is another movement difference I would keep an eye on.
When I see it, I change the order and the dose. They do two more sets of five, and then the first ten throws are at an easy catch distance with one cue: keep the shoulder blade down and back, like you are tucking it into your back pocket. If they cannot perform band reps without pain or obvious difficulty, I would modify throwing and have the athlete evaluated by an athletic trainer or other qualified professional. They can still play catch, do lower-body work, and get their conditioning.